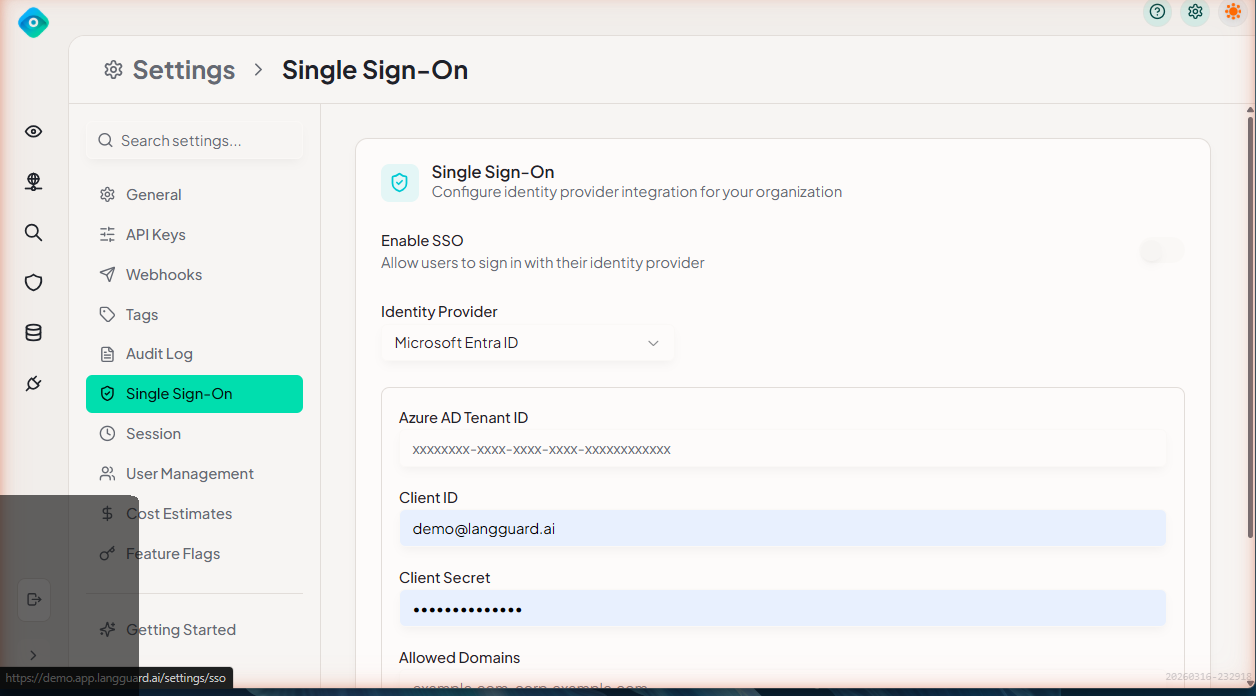
Single Sign-On (SSO)
Configure Single Sign-On to let your team authenticate with their existing identity provider.
Navigation: Settings > SSO (/settings/sso)
Supported Providers
LangGuard supports SSO with:
- Microsoft Entra ID (formerly Azure Active Directory)
- Google Workspace
Microsoft Entra ID Setup
Prerequisites
- Azure AD tenant with admin access
- LangGuard admin role
Configuration Steps
-
In Azure Portal:
- Navigate to Azure Active Directory > Enterprise Applications
- Click New Application > Create your own application
- Name it "LangGuard" and select Integrate any other application
- Under Single sign-on, select SAML
- Set the Reply URL to the value shown in LangGuard's SSO settings
- Copy the Federation Metadata URL
-
In LangGuard:
- Navigate to Settings > SSO
- Select Microsoft Entra ID
- Paste the Federation Metadata URL
- Click Save
Google Workspace Setup
Prerequisites
- Google Workspace admin access
- LangGuard admin role
Configuration Steps
-
In Google Admin Console:
- Navigate to Apps > Web and mobile apps
- Click Add app > Add custom SAML app
- Name it "LangGuard"
- Copy the SSO URL and Certificate
-
In LangGuard:
- Navigate to Settings > SSO
- Select Google Workspace
- Enter the SSO URL and upload the Certificate
- Click Save
Role Mapping
Map identity provider groups to LangGuard roles so users are automatically assigned the correct permissions when they sign in.
Configuring Role Mapping
- Navigate to Settings > SSO > Role Mapping
- For each LangGuard role, specify the corresponding IdP group:
| LangGuard Role | Description | Example IdP Group |
|---|---|---|
| Admin | Full access to all settings and features | LangGuard-Admins |
| Member | Can view all features, limited settings access | LangGuard-Members |
| Viewer | Read-only access to dashboards and traces | LangGuard-Viewers |
- Click Save
Users not matching any mapped group are assigned the default role (configurable).
Domain Restrictions
Restrict which email domains can sign in to your workspace:
- Navigate to Settings > SSO
- Under Domain Restrictions, add allowed domains (e.g.,
yourcompany.com) - Only users with email addresses matching these domains can authenticate
Testing SSO
After configuring SSO:
- Open a private/incognito browser window
- Navigate to your LangGuard workspace
- Click Sign in with SSO
- Verify you are redirected to your identity provider
- After authenticating, confirm you land in LangGuard with the correct role
Troubleshooting
Users Getting Wrong Role
- Verify group membership in your identity provider
- Check role mapping configuration matches exact group names
- Ensure the user's IdP session has refreshed after group changes
SSO Login Fails
- Confirm the Reply URL / ACS URL in your IdP matches LangGuard's expected value
- Check certificate expiration
- Verify the Federation Metadata URL is accessible
Users Can't Access LangGuard
- Check domain restrictions — the user's email domain must be in the allowed list
- Ensure the user has been assigned to the LangGuard application in your IdP