User Management
Manage who has access to your LangGuard workspace and what they can do.
Navigation: Settings > Users (/settings/users)
Overview
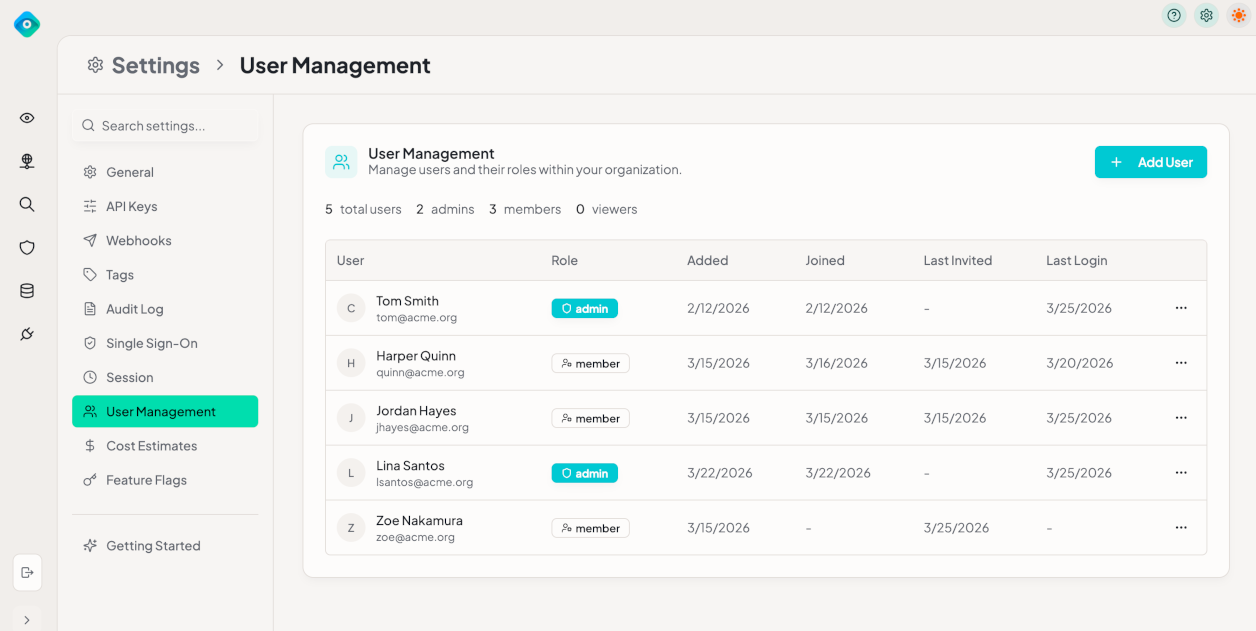
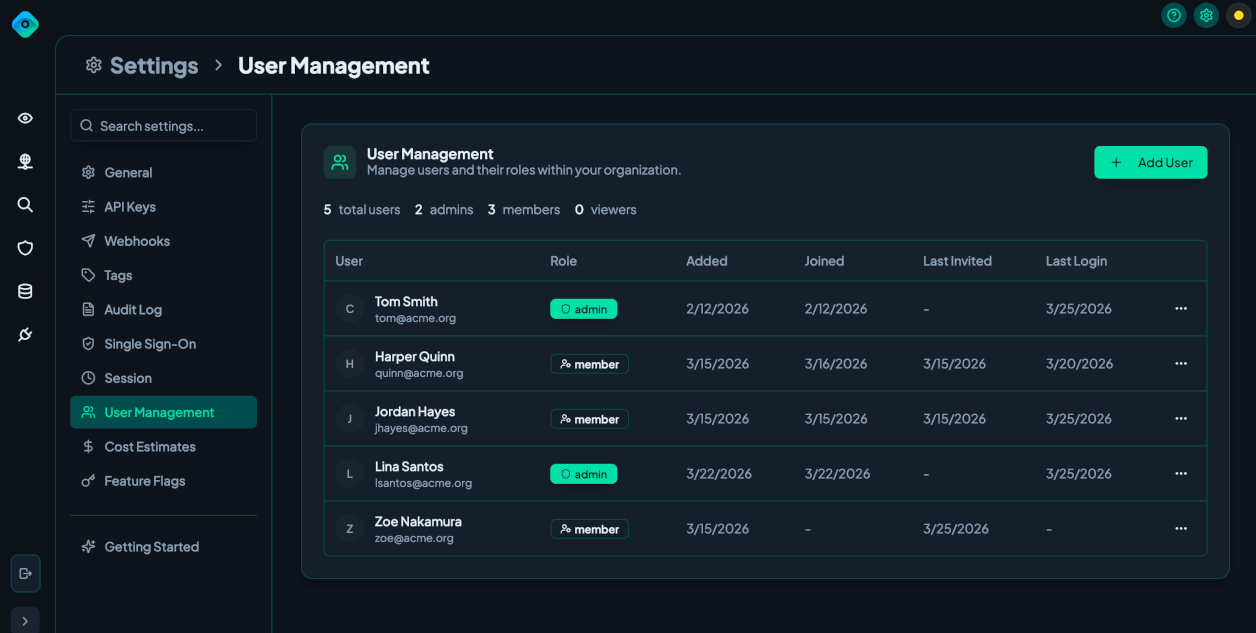
The user management page shows all members of your workspace with their roles and status.
| Column | Description |
|---|---|
| Name | User's display name |
| User's email address | |
| Role | Admin, Member, or Viewer |
| Status | Active or Pending (invitation sent) |
| Last Active | Most recent login |
Inviting Users
- Navigate to Settings > Users
- Click Invite User
- Enter the user's email address
- Select a role (Admin, Member, or Viewer)
- Click Send Invite
The user receives an email invitation with a link to join the workspace.
Roles
LangGuard has three roles with different permission levels:
Admin
Full access to all features and settings:
- Configure integrations, policies, SSO, and all settings
- Manage users and API keys
- Access all features and settings
Member
Can use all features but has limited settings access:
- View and interact with Discovery, Monitoring, Trace Explorer, and other features
- Cannot modify integrations, SSO, or workspace settings
- Can apply tags to assets
Viewer
Read-only access:
- View dashboards, traces, and reports
- Cannot modify any data or settings
- Useful for stakeholders who need visibility without edit access
Changing Roles
- Find the user in the user list
- Click the role dropdown next to their name
- Select the new role
- The change takes effect immediately
Removing Users
- Find the user in the user list
- Click the Remove button
- Confirm the action
Removed users immediately lose access to the workspace. Their past actions remain in the Audit Log.
Best Practices
- Follow least privilege — Assign the minimum role needed for each user's responsibilities
- Limit admin accounts — Keep the number of admins small and track who has admin access
- Review membership regularly — Remove users who no longer need access
- Use SSO with role mapping — Automate role assignments via your identity provider (SSO Settings)